In this guide, you’ll learn everything from the fundamentals of color grading to advanced techniques used by professionals.
What is Color Grading?
Color grading is the process of adjusting colors in an image to create a specific mood, tone, or visual style. Unlike basic color correction (which fixes exposure and white balance), grading is more artistic.
Think of it like:
Correction = fixing reality
Grading = enhancing emotion
Why Color Grading Matters
A well-graded image can:
Create a strong emotional impact
Build a recognizable style or brand
Make your photos look more cinematic
Improve overall visual consistency
If you're building a photography or editing brand, this is where your identity comes from.
Understanding Lightroom’s Color Tools
Before jumping into grading, you need to understand the key tools:
1. White Balance
Adjusts temperature (warm ↔ cool)
Tint controls green ↔ magenta balance
Always fix this first
2. Basic Panel (Foundation)
Exposure
Contrast
Highlights & Shadows
Whites & Blacks
Get your lighting right before touching colors.
3. Tone Curve
One of the most powerful tools:
Adjust brightness in shadows, midtones, highlights
Create contrast with an S-curve
Fade blacks for a matte look
4. HSL Panel (Hue, Saturation, Luminance)
This is where color magic starts:
Hue → changes the actual color
Saturation → intensity of color
Luminance → brightness of color
Example:
Make skin tones warmer → adjust orange hue
Make sky deeper → reduce blue luminance
5. Color Grading Panel (The Real Game-Changer)
This is Lightroom’s cinematic tool.
You can adjust:
Shadows color
Midtones color
Highlights color
Common technique:
Add blue to shadows
Add orange to highlights
This creates the popular cinematic teal-orange look.
Step-by-Step Color Grading Workflow
Step 1: Fix Exposure & Lighting
Balance highlights and shadows
Ensure image isn’t too flat or too harsh
Step 2: Adjust White Balance
Warmer for cozy vibes
Cooler for moody or cinematic tones
Step 3: Add Contrast with Tone Curve
Slight S-curve
Lift blacks slightly for a soft fade
Step 4: Work on Colors (HSL)
Adjust skin tones carefully
Control greens and blues for environment
Step 5: Use Color Grading Panel
Shadows → cool tones (blue/teal)
Highlights → warm tones (orange/yellow)
Midtones → subtle balance
Step 6: Final Touches
Add subtle vignette
Sharpen image
Add grain for film look
Popular Color Grading Styles
1. Cinematic Look
Teal shadows, orange highlights
High contrast
Slight desaturation
2. Moody Look
Dark shadows
Cool tones
Reduced saturation
3. Bright & Airy
High exposure
Soft contrast
Warm highlights
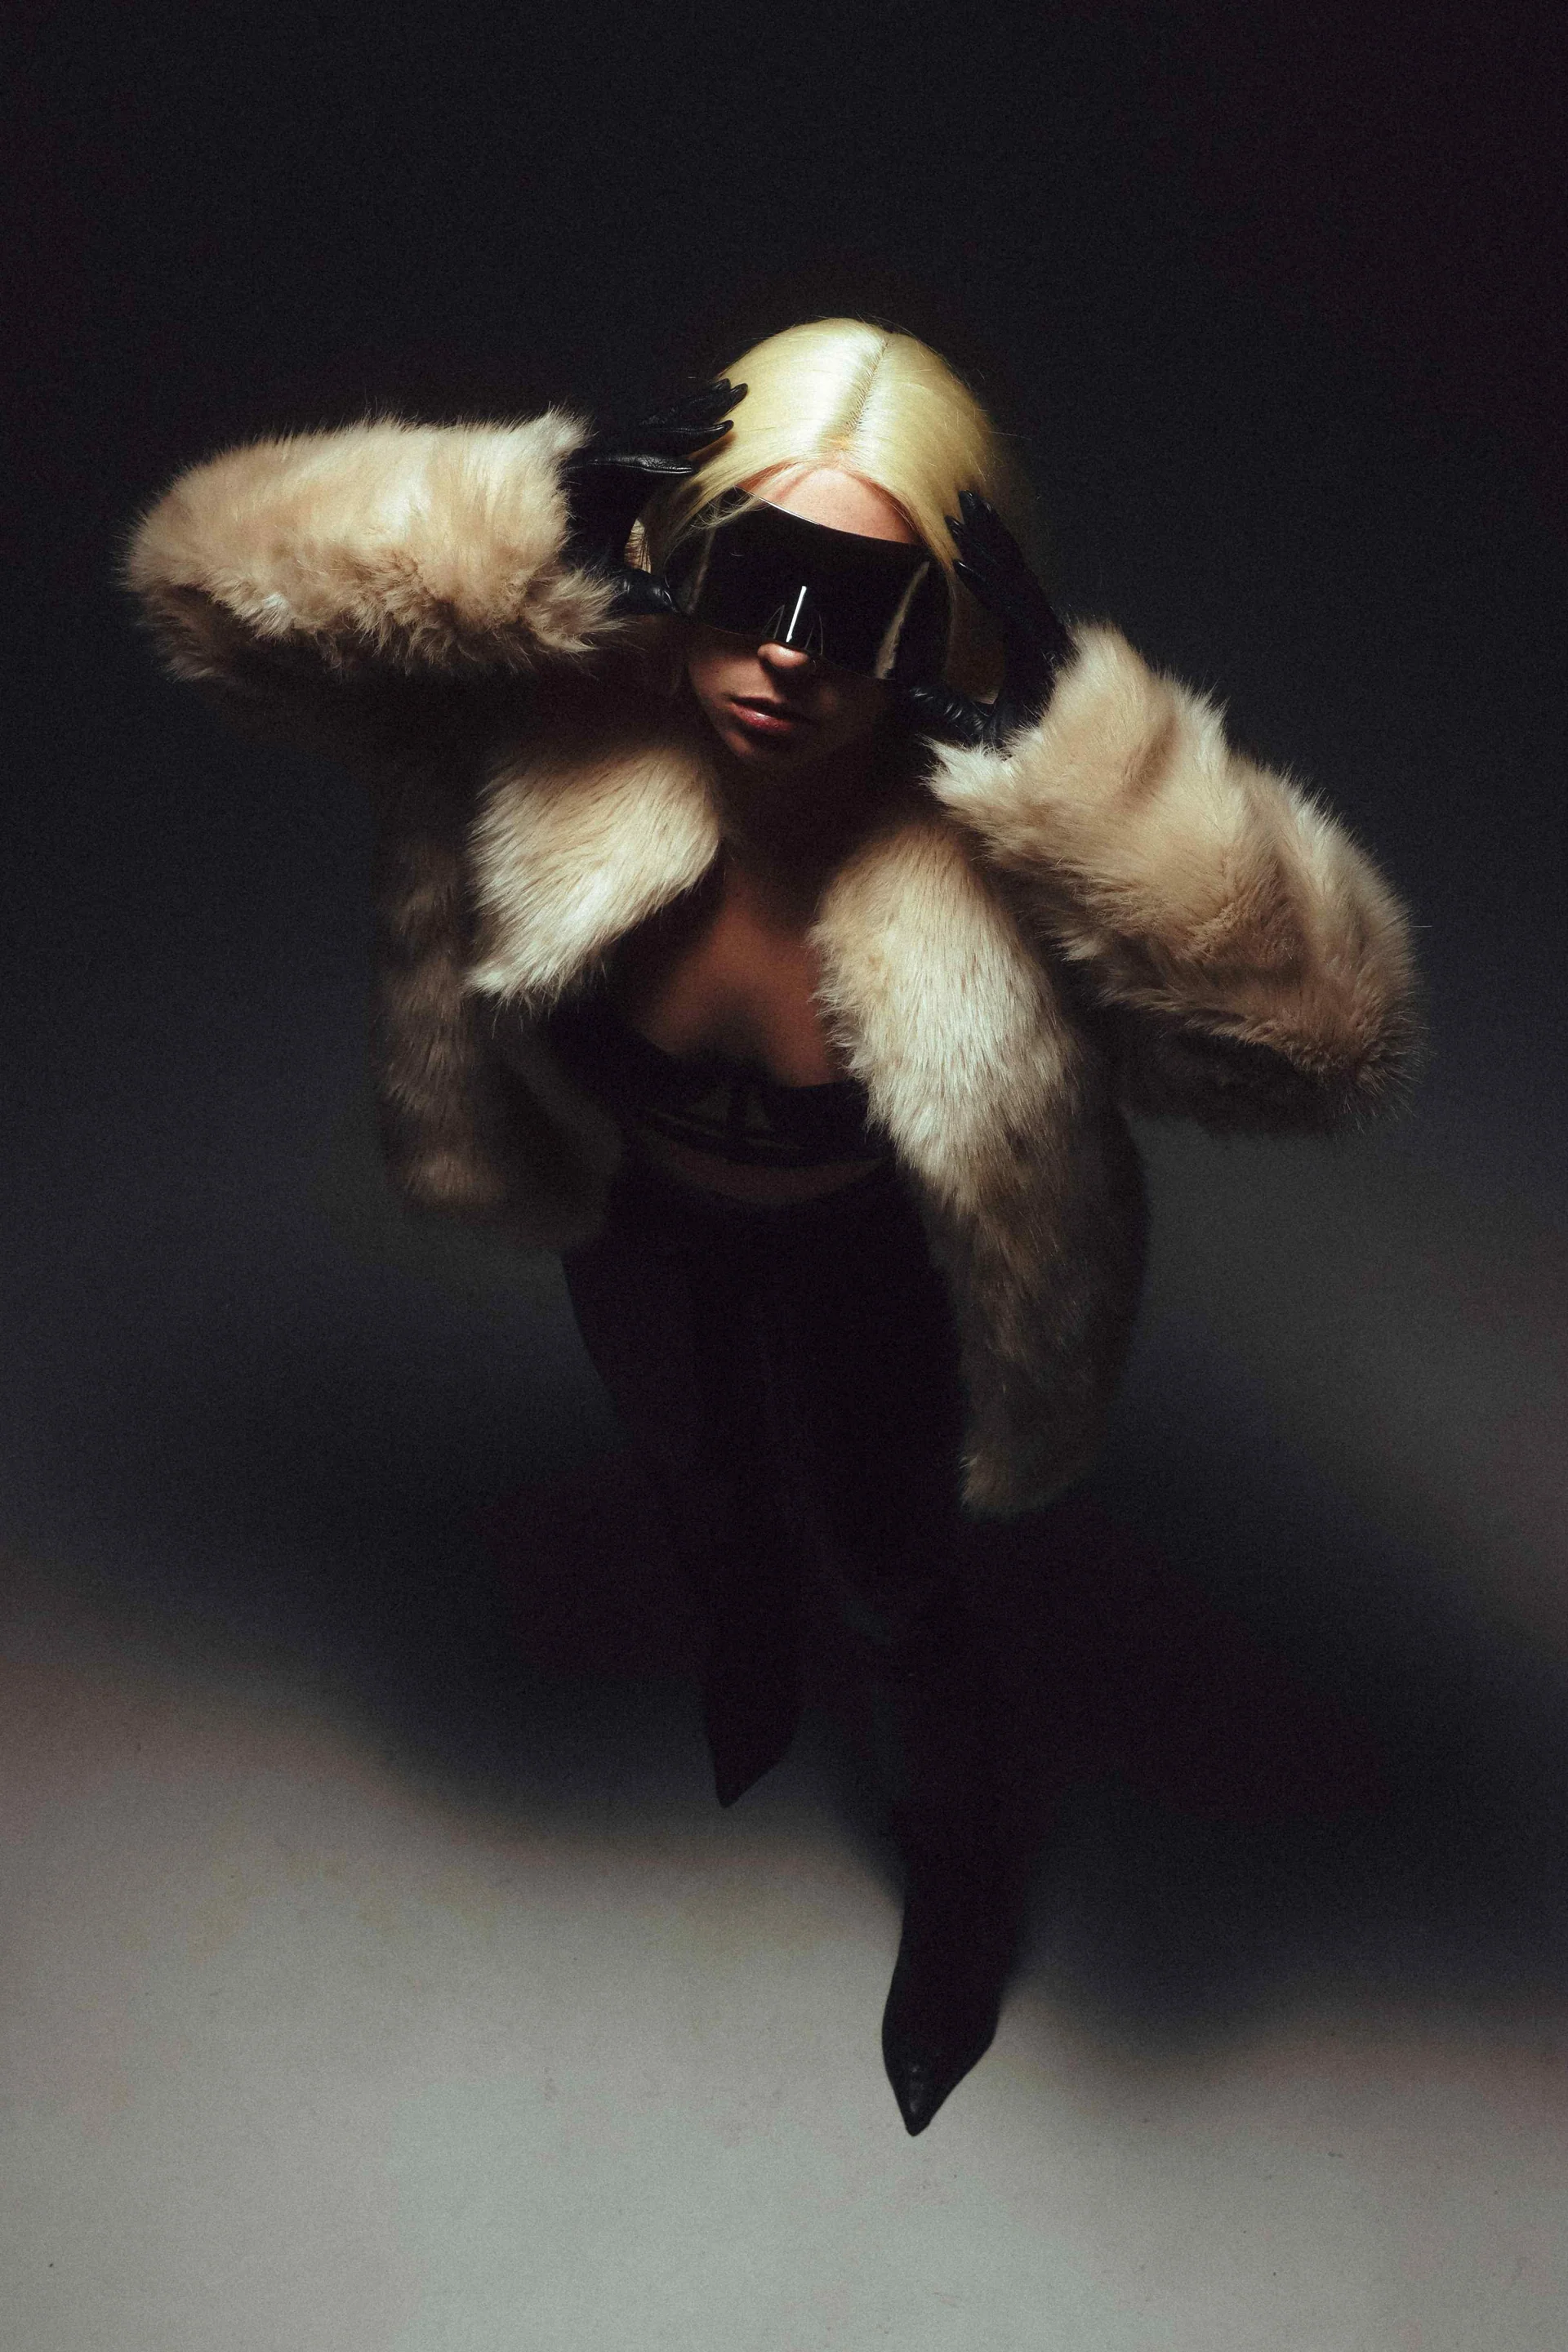
4. Vintage Film Look
Faded blacks
Grain added
Warm tones
Pro Tips for Better Results
Don’t oversaturate — it looks unprofessional
Keep skin tones natural (very important)
Use reference images for inspiration
Zoom out and check overall balance
Consistency matters more than perfection
Common Mistakes to Avoid
Over-editing colors
Ignoring white balance
Crushing shadows too much
Making skin tones unnatural
Using presets blindly without adjustment
Final Thoughts
Color grading in Lightroom is not just about sliders — it’s about storytelling. Every color you choose affects how your audience feels when they look at your photo.
Start simple, practice consistently, and develop your own unique style over time. The more you experiment, the better your eye for color will become.